Products
Eagle
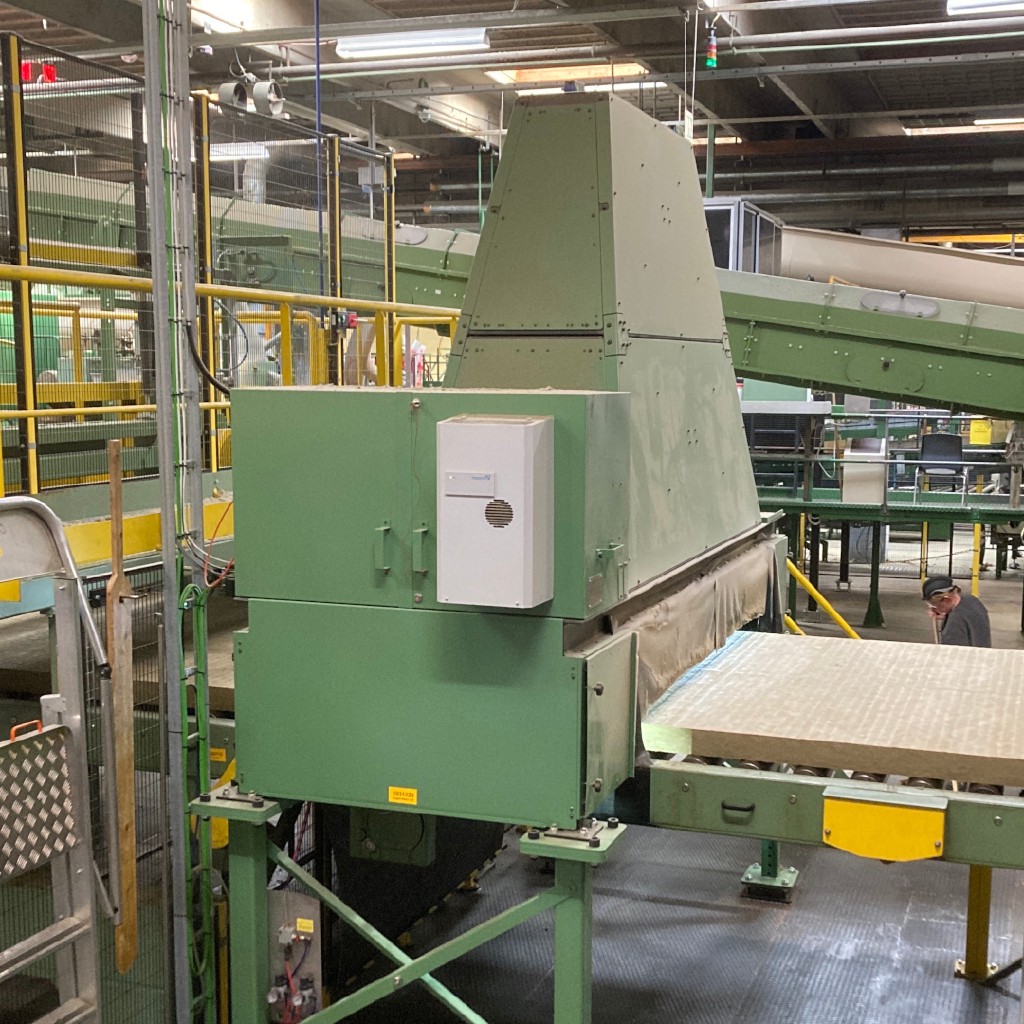
Multimodal inspection arches which analyse the shape, size, thermal and visible properties of products in motion on large conveyors with no interruption of the production process.
- Eye-safe 3D analysis of upper and outer surfaces of material on the line generates a millimetre surface map of product to check size and detect deformations
- Optional thermal analysis of upper surface to detect hotspots and check product temperature is within acceptable parameters
- Visual analysis of material to detect unusual features with trained classification to determine feature type based on the specific properties of the product line
- Detection of required features such as product branding
- Intuitive user interface for results reporting and system control
- Automated quality threshold application - set the quality metrics you require and let Eagle indicate defects
- Provides a tightly controlled lighting environment for analysis, removing the effects of ambient conditions
- Integration with line control systems for automatic removal of defective product
- Designed to operate on continuous stream production
- 24/7 operation with self-monitoring of system health
Vesper
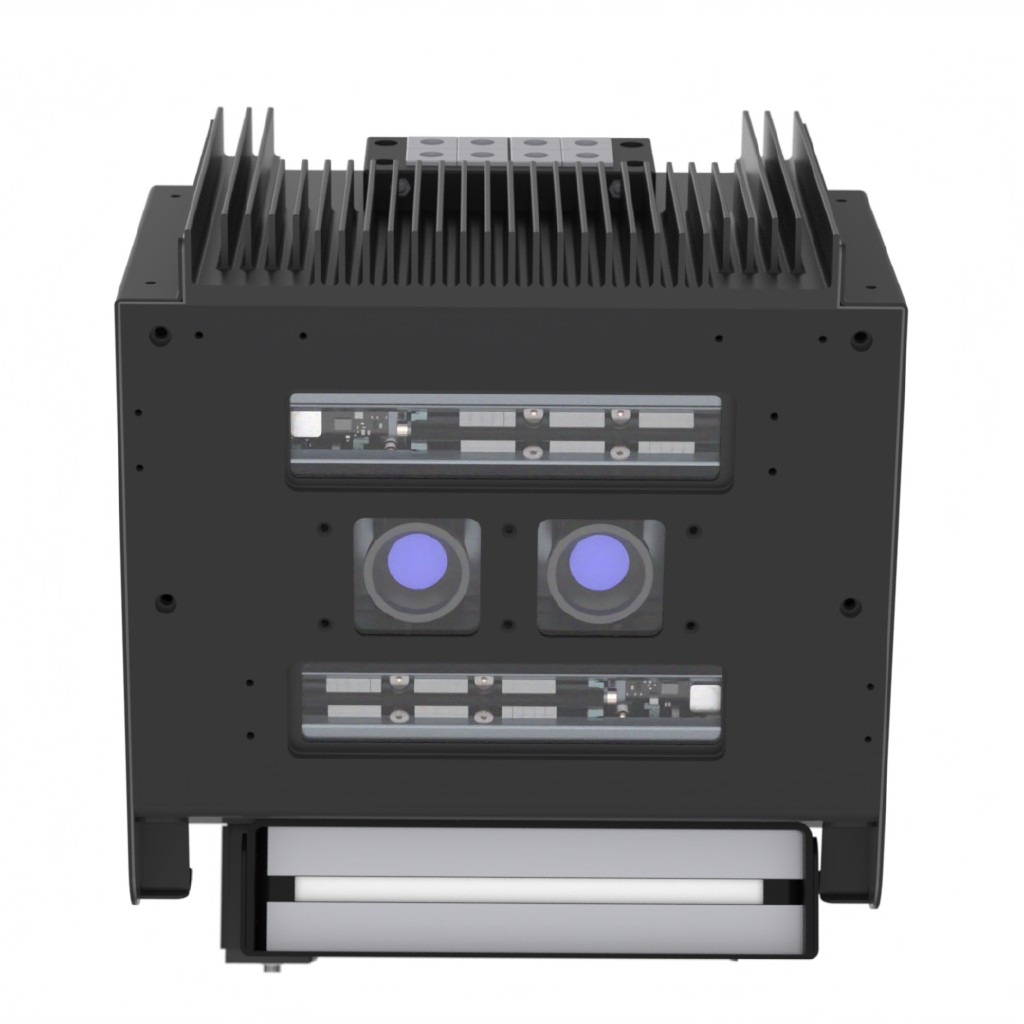
Compact, self-contained inspection systems capable of precise measurement of the shape, size and position of items on a moving conveyor.
- Functions either standalone or as an extension module to Eagle
- Operates on large conveyors up to 3 metres in width as a single unit with the ability to operate as a multi-head system for larger lines or where greater accuracy is required
- Detects precise position and orientation of items on a line for process control - preventing collisions, jams and snags
- Measures dimensions of items in 3D for quality control - height, length and width and checks for correct shape
- Performs visual inspection of the upper surface of products on the line
- Ruggedised, dust-proof enclosure with easily cleaned integral external heatsinks and cooling fans
Dragonfly
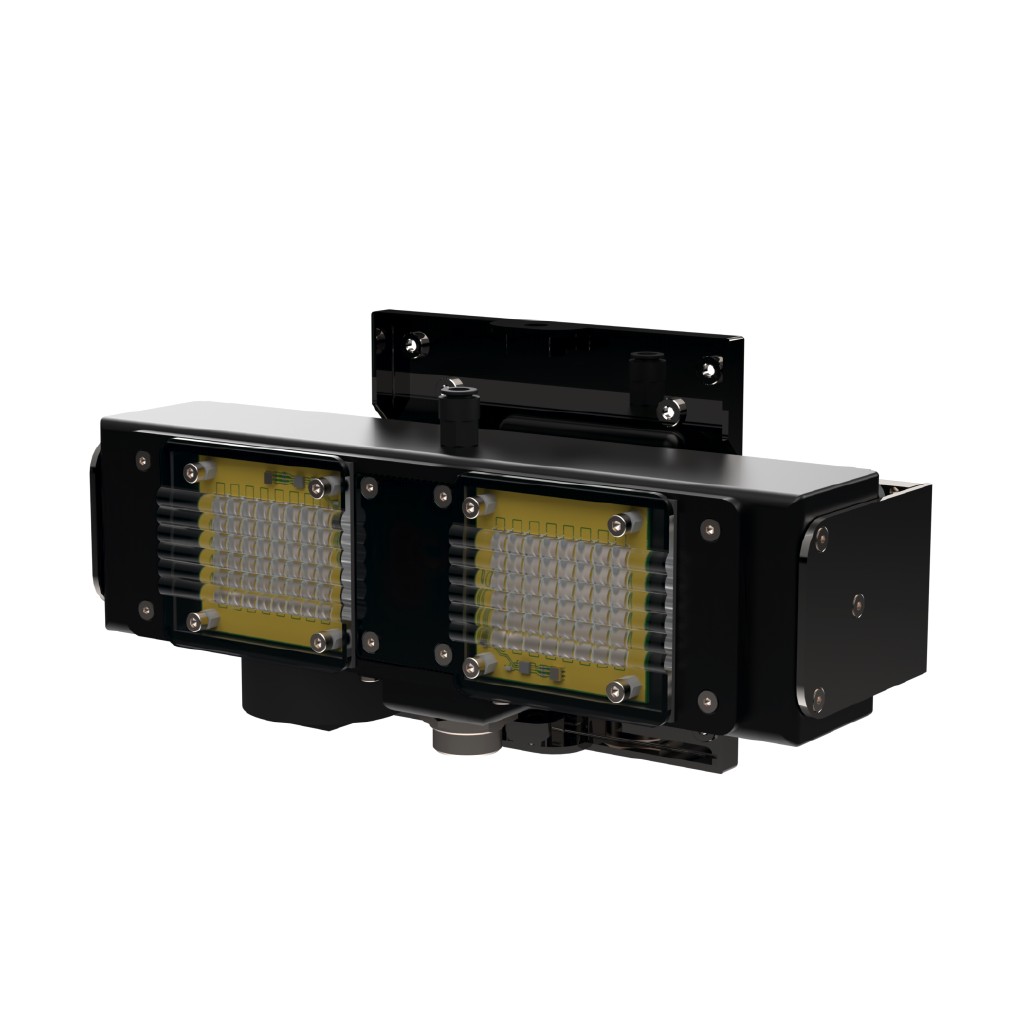
Lightweight visual inspection systems with integrated flash and camera for single point inspection tasks.
- Functions either standalone or as an extension module to Eagle
- Typically used as a single point inspection head but can be extended to multipoint system using either hardware or optical triggers
- External processing unit for a low profile inspection head capable of operating in harsh conditions
- High powered flash for operation in applications with varying ambient light conditions
- Near-IR analysis option to prevent dazzle or distraction of operators
- Image processing architecture customisable to meet task-specific requirements
- Rugged casing with passive, active and air-cooled options to suit a wide range of environmental conditions
- Operating range: 1m - 6m
Services
Design engineering
Our solutions are built with proven hardware components assembled to meet your specific needs - because no two production lines are the same. Building on decades of experience in industrial machine vision we provide algorithms and interfaces tailored to your unique requirements.
For the most challenging applications we develop novel platforms with our hardware partner, allowing us to solve otherwise intractable problems.
Installation
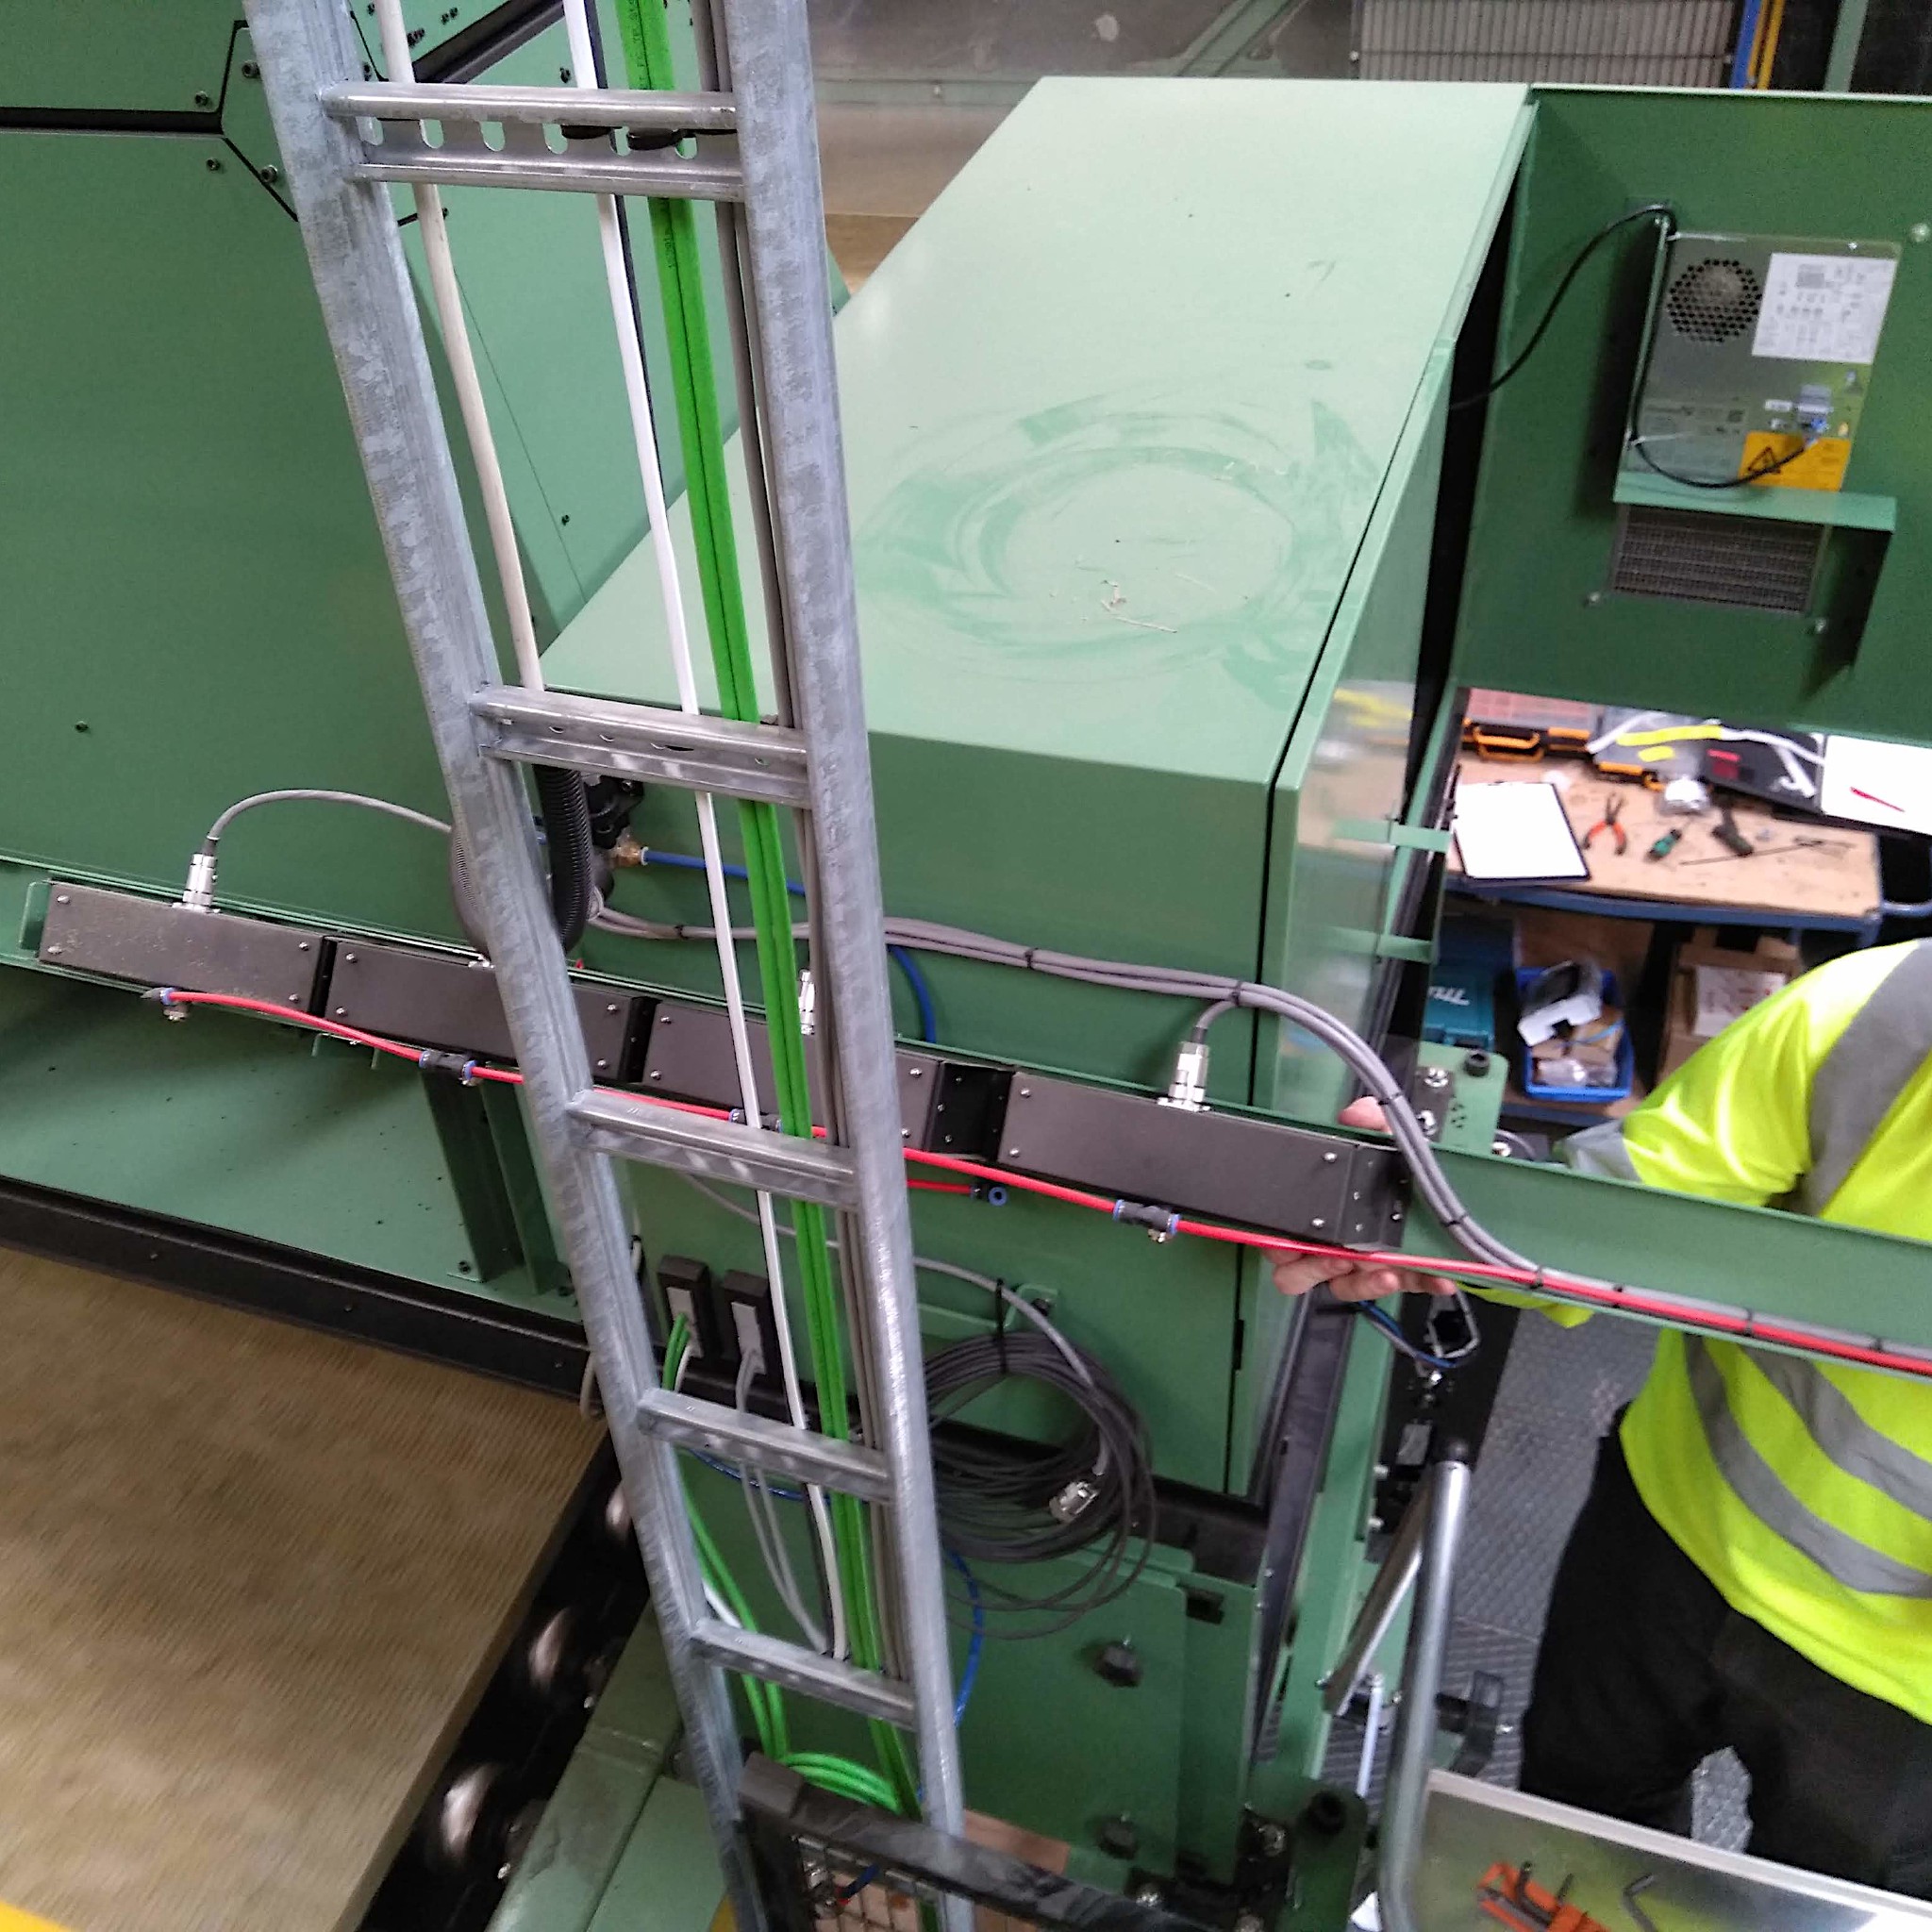
With our network of experienced installation and commissioning engineers across Europe we're able to fit our products swiftly, safely and efficiently wherever your facility is based.
Maintenance
We know that up-time and reliability are crucial for industrial systems. We offer comprehensive support and maintenance plans for our products with options for annual preventative maintenance, scheduled refits, remote assistance, health monitoring, repair and upgrade visits planned around your production schedule.


